Mastering Camera Light Settings: Overcoming Common Issues and Advanced Techniques

When it comes to photography, one of the most crucial factors that can make or break a shot is the lighting. Whether you’re a professional photographer or just a casual enthusiast, understanding how to properly set up and adjust the light settings on your camera is essential for capturing stunning images.
Understanding Camera Light Settings
Before delving into how to address light setting issues, it’s important to have a good grasp of the different light settings available on most modern cameras. While the specific terminology and options may vary depending on the make and model of your camera, there are a few common settings that you’re likely to encounter:
- ISO: This setting determines your camera’s sensitivity to light. A lower ISO is ideal for well-lit environments, while a higher ISO is useful in low-light conditions.
- Aperture: Also known as the f-stop, this setting controls the size of the opening in the lens through which light enters the camera. A lower f-stop lets in more light, while a higher f-stop reduces the amount of light.
- Shutter Speed: This setting determines how long the camera’s shutter remains open to allow light to hit the sensor. A faster shutter speed is suitable for capturing fast-moving subjects in bright light, while a slower shutter speed is used for low-light conditions or to create motion blur effects.
- White Balance: This setting adjusts the color balance of the image to compensate for different lighting conditions, ensuring that white objects appear white in the photo.
Common Light Setting Issues and Solutions
Even with a good understanding of camera light settings, photographers often encounter issues that can affect the quality of their photos. Let’s explore some common problems and the solutions to address them:
1. Overexposure or Underexposure
One of the most frequent issues photographers face is dealing with overexposed (too bright) or underexposed (too dark) images. This can occur when the camera’s light settings are not properly adjusted for the given lighting conditions.
Solution: To address overexposure, you can try lowering the ISO, using a higher f-stop (smaller aperture), or increasing the shutter speed. Conversely, underexposure can be mitigated by raising the ISO, using a lower f-stop (larger aperture), or slowing down the shutter speed. Experimenting with these settings in different lighting conditions will help you find the optimal balance for well-exposed photos.
2. White Balance Issues
Incorrect white balance settings can result in photos with unnatural color casts, making them appear too warm, cool, or tinted in a particular hue. This often happens when shooting under mixed lighting or in challenging light conditions.
Solution: Most cameras offer preset white balance modes such as daylight, cloudy, shade, tungsten, fluorescent, and flash. Alternatively, you can manually adjust the white balance to achieve accurate color representation. Another option is to shoot in RAW format, allowing you to fine-tune the white balance during post-processing.
3. Motion Blur
When capturing moving subjects or shooting in low light, achieving sharp, blur-free images can be a challenge. This is particularly common in situations such as sports photography or indoor events.
Solution: To minimize motion blur, use a faster shutter speed to freeze the action. If the lighting conditions are not conducive to a faster shutter speed, consider increasing the ISO to make the sensor more light-sensitive. Additionally, using image stabilization equipment or techniques can help steady the camera and reduce blur.
Advanced Techniques for Light Management
Beyond the basic adjustments to ISO, aperture, shutter speed, and white balance, there are advanced techniques and tools that can further enhance your control over lighting in photography:
1. Use of Neutral Density Filters
Neutral density (ND) filters are handy tools for controlling the amount of light that enters the camera without affecting the color balance. These filters are particularly useful for long exposure photography in bright conditions or for achieving a shallow depth of field in daylight.
Tip: Experiment with different ND filter strengths (measured in stops) to achieve the desired exposure without compromising image quality.
2. Off-Camera Lighting
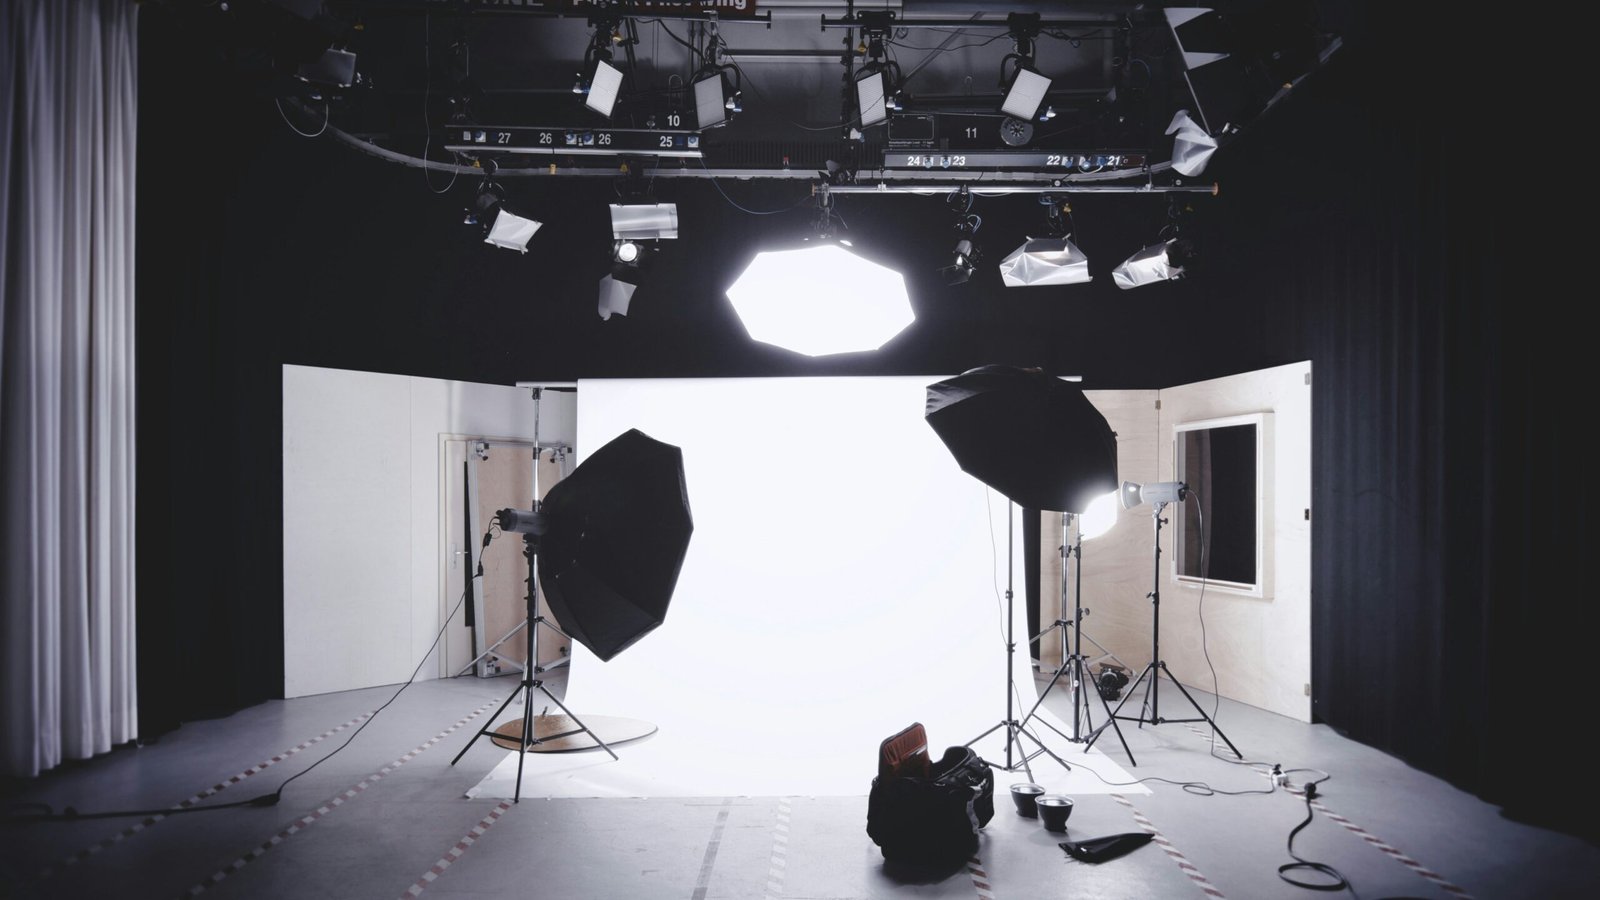
For more creative control over lighting, consider using off-camera flash or continuous lighting sources. This allows you to position the light independently from the camera, creating dramatic effects and eliminating harsh shadows.
Tip: Experiment with diffusers, reflectors, and gels to modify the quality, direction, and color of the light for varied and captivating results.
3. High Dynamic Range (HDR) Imaging
HDR imaging involves capturing multiple exposures of the same scene at different light levels and blending them to create a single image with a wide dynamic range. This technique is particularly useful for scenes with extreme contrast between light and dark areas.
Tip: Use HDR sparingly and ensure that the final result looks natural, avoiding the overly processed, surreal look that is often associated with poorly executed HDR images.
Conclusion
Mastering camera light settings is a continuous learning process that requires experimentation, practice, and a keen eye for detail. By understanding the fundamental principles of light management and familiarizing yourself with the various settings and techniques, you can elevate the quality of your photography and overcome common light setting issues with confidence.
Remember, the key to achieving great results lies in striking the right balance between technical knowledge and artistic expression, allowing you to capture captivating images that truly stand out.


